5 Tips for Mastering Your Own Music
Create better masters faster and with less frustration, even if you’re new to the craft
AUGUST 29TH, 2021
Read this article and explore 5 tips for mastering your own music that will make your workflow more seamless and take your mastering to the next level:
What effects to use and in which order
It’s easy to say there’s no one correct answer to this — though while that would be true, it’s not terribly useful! You deserve enough of a list to at least get you going. If you want some additional reading that goes into the fundamentals of mastering, check out this article from iZotope!
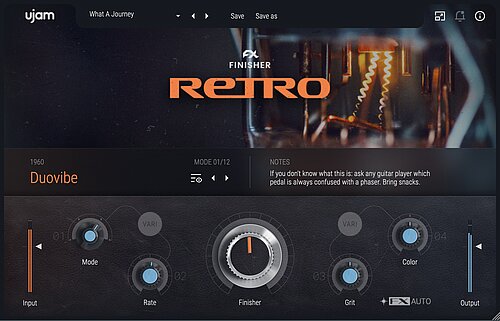
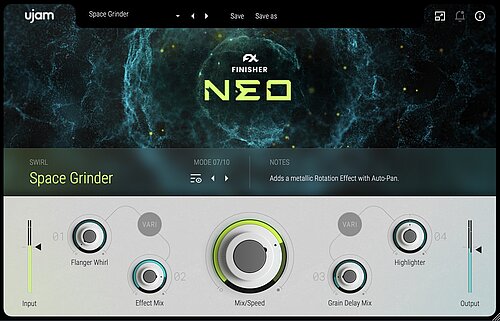
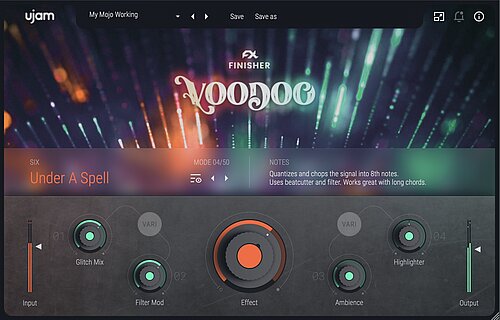
Typically, you’ll want stereo image control, EQ, compression and limiting, in that order (plus anything else you like for fixing specific problems or adding polish). If you have any particular creative effects such as Finishers you’d like to use sparingly (most creative work should be done in the mix prior to this), add them before any stereo image control. If you choose to use stereo image control, which is not always necessary, putting it at the beginning ensures that you’re not messing with your choices later down the chain. EQing next allows you to make any subtle changes to the frequency balance and notch out any problem frequencies, giving you one final opportunity to change the overall spectrum before glueing everything together.
Compression is that glue. The reason you generally shouldn’t place it first is that compression tends to raise the volume of everything you run through it, so you should fix problems first; plus, you can always add a little more EQ afterward if you feel you need it. Compressing the frequency balance you’ve chosen is cleaner and easier to work with if you need anything else prior to limiting as well. Choose your compressor carefully and keep it subtle, because it will affect the entire mix at once — add just enough to make everything move in unison and sound cohesive, favoring a long attack, short release, low ratio and high threshold (so it compresses very lightly).
Lastly, the limiter. The easiest mistake to make is thinking it’s sole job is to make your music louder; while that’s a valuable use, it’s also excellent for transient shaping (controlling the sharp attack at the beginning of notes and percussion hits) because it activates instantly. This pulls down your peak volume and makes the transients feel more like they belong, and nicely ties up a good master. If you approach each effect in the chain with care and master as many different tracks as possible, you’ll improve your abilities rapidly!
Preparing to mastery
This is technically in the mixing phase, but do not use effects across your mix buss or premaster — it will severely limit your creative and technical options later. It’s common for producers to place a compressor across the mix buss and “mix into the compressor,” but it’s only advisable to do this if you’re a seasoned pro and you’re doing it for a specific reason. Otherwise, if you don’t love the way things sound later, the mix could fall apart the moment you need to make a change.
Once your premaster is finished, export it at 24 bit, 48kHz or higher so listeners will hear the highest quality across most common devices. Pull it into a separate session and do the mastering there — you’ll be tempted to change things in the mix, but you’ll now have to open up a separate session to do so. You can use laziness to your advantage, forcing you to make better decisions when mixing and commit to them before you get to the mastering phase!
What makes a good reference mix
When choosing a reference, there are a few qualities you want to look for, because you’ll use them when making direct comparisons.
One is depth — the presence of multiple levels of detail, namely foreground, middle ground and background. All of these should be clear even when listening in mono, otherwise the EQ balance is uneven or too much compression was improperly applied.
Another is frequency balance — this will vary by genre, but you don’t want over- or under-emphasized low, middle or high-end. If anything sounds too thick, cluttered or loud, choose another mix. This one is unbalanced, which of course isn’t what you want!
There’s also dynamics — you want to viscerally feel the volume swells, percussion hits, overall beat and more. If you can’t, it’s likely overcompressed and mastering to the reference will lead you to create a flat, boring mix.
Also look for smoothness — no harsh frequencies should stand out. Not only are they the sign of a less than stellar master, they may also distract you as you seek to create a full, clear master that highlights the nuances of your song.
You’ll certainly find others as you master more tracks, but these are critically important and will get you started. Over time, write down your most important characteristics and keep them in your back pocket when picking references. The part is that these are the same qualities to compare with when flipping between your own song and your reference master; segmenting things this way also opens up possibilities for reference tracks outside of your chosen genre, helping you achieve more creative mastering possibilities! If you want a more detailed walkthrough on using reference tracks, check out this article from Mastering The Mix.
Using multiple listening devices for reference
You may have heard that you want to listen to your mix on as many devices as possible (studio monitors, headphones, car, iPhone, etc.) — but what do you actually do with all that information? If specific parts of the mix sound good on one but not another, which ones do you prioritize?
Fortunately, there are principles that usually hold up. Number 1: if you have access to a good pair of studio monitors, the mix needs to sound good on them or it won’t translate across other devices. Use other devices for a few specific things, but beyond those and gauging the overall quality of the mix, trust your monitors first and foremost, and make your final decisions there unless you have a specific reason to do otherwise.
For example, a solid pair of headphones like the ATH-M50x will reveal small spacing details you can’t otherwise hear, forcing you to re-evaluate the master. However, their sense of depth is typically lacking since the sound source is so close to your ears — that said, if you manage to create depth on headphones, you may notice even more on your studio monitors! Be cautious about judging bass on headphones, as they’ll often lie to you about your low end.
Phone speakers help ensure you create enough balance in the mids and low mids without overstating the high end. Bass information is obviously useless, but there’s one thing that’s incredibly useful: making sure you can still perceive the bass even without hearing fundamental frequencies. If you can’t tell the bass or kick are there, that means they need more frequencies from the low mids to the highs; even if you can’t hear the root notes, you should still clearly hear what they are. For instance, if you only use sine subs, you speakers will distort but you won’t know what bass note is playing (which is why your bass should nearly always have some upper harmonics).
We’ll end with car speakers: the acoustics will always be terrible, because you’re right in the middle of all the speakers at close range with zero soundproofing; plus, you might have sounds like the air conditioner and outside noises that mask parts of the frequency spectrum. If the rough balance sounds okay and you can hear fine detail amidst all the other stimuli, your mix will translate better to other devices. There’s no limit to the range of devices you can use — MusicRadar goes into some creative possibilities in their blog!
Check your high end
A dull high end will kill a great mix, especially in EDM — so you want a bright, present high frequency range (you’ll often hear this described as ‘air’). When you compare your mix to your reference, listen to the high end — if there’s a major discrepancy between the two tracks, first go back into the mix and give a gentle boost to every track that seems to need it. Once you get close with your song, re-export the premaster.
If you need a little more air, you can use a high shelf EQ and gently boost a little above 10kHz; with a good mix, up to 2dB should do the trick. There are dedicated plugins to do this without introducing harshness, and passive EQ emulations are often a great choice for this. A more holistic solution is to cut out some mud in the mids to low mids, because this could be ‘masking’ higher frequencies. Once the balance sounds about right, you’re good to go!
Wrapping up
Mastering is a broad topic; when learning any complicated task, it helps to have principles and strategies to rely on to make your life easier. Use these 5 tips to make your workflow more seamless and ensure you’re only working with high-quality materials that don’t fool your ears. There’s so much subtlety in mastering, and you want to give your ears every possible advantage.
Notice that none of this involves huge effect chains or weird tricks — with mastering, simpler almost always sounds better. Focus on making a few good decisions rather than a lot of mediocre ones. The effect chain we described is only 4 to 5 plugins long; compare that with the 10+ many less experienced producers prefer! Always go with a small chain. If you can’t, there are likely glaring EQ and compression problems that need to be fixed in the mix before you can finish the mastering process. Be patient, because mastering is predominately about listening — slight changes affect everything in the mix, and every tweak matters.
When you nail it, though, it feels amazing; you finally have a finished song to put out into the world! Accept every master as part of the learning process, take note of the important items to improve next time, and once you’re finished, let it go!
Stay up to date
Sign up and we’ll send you an e-mail with product news and helpful stuff every now and then. You may unsubscribe at any time.
Defy Limits
We develop software solutions that enable people to create, consume and interact with music.


