How to Distort Drums
A guide to the best distortions by type and genre, so you can summon all the power and dirt you need at will.
AUGUST 22ND, 2021
Types of distortion
Let’s hit a few of the most common ones you’ll encounter (there are far more than 5, but these cover a pretty broad range and will help whet your appetite for some of the possibilities available to you):
- Tape distortion: gentle and forgiving, even when you dial up the drive; it’s an excellent way to make your drums sound more pro and analog very quickly
- Digital clipping: chops off everything above a specified volume level, pushing everything closer to a ‘square wave’ and creating a very harsh sound (good for when you need to crush things heavily)
- Fuzz: heavy overtone and high frequency emphasis, creating a dirty and trashy sound (usually not a great choice for drums unless you have something specific in mind)
- Bit reduction: mimicking the limitations of old game consoles, this gives a very grainy, retro feel with sharp, bright distortion (great for creating a video game-y feel)
- Guitar amp + cabinet: exactly what you’d expect; a great way to add air and presence, owing in part to the sound of micing the cabinet at close range
Distortion works best in concert with other audio effects — if you want a more complete guide to every tool at your disposal, check out our companion article, The Ultimate Guide to Audio Effects!
Acoustic rock drums
One of the big differences between acoustic and electronic drums is that an acoustic kit always exists in a physical space, and thus you get a natural mini-reverb that affects the tone and dimension of the drums. Distortion is brutal on reverb, which can be an appeal in and of itself, but make it a habit to avoid distorting the room mics; they carry an important dimension that distortion will all but obliterate. Instead, save it for the close mics and test it on the overheads. Also, you’ll typically want to avoid distortion modules that disproportionately impact higher frequencies (fuzz boxes, etc.) — otherwise, the snare and cymbals will quickly overtake the entire mix.
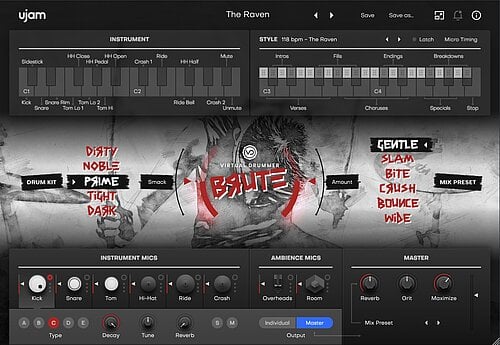
There are numerous ways you can take the sound from here, and it starts by articulating the kind of sound you want. Trashy (fuzz with high frequencies rolled off or possibly guitar amp + cabinet)? Edgy (hard clipping)? Beefy (tube saturation in the lows and low mids)? Vintage (tape, vinyl or tube/valve saturation)? Once you get used to the sounds of different distortions, you’ll be able to ‘demo’ them in your head first, then apply the effects you want and tweak from there to get it perfect. To get better at this quickly, try using some of Virtual Drummer BRUTE’s powerful grooves with presets like Indie Chick and Le Bonheur, cycling through different distortion plugins and modules in your arsenal!
Industrial music
If you love playing with different types of distortion in everything you do, industrial is probably going to be the most fun genre for you to write in, hands down. Distortion is the sound in industrial music, and the typical rules about carefully controlling the amount often go out the window completely. It’s all about personal taste, and you have far more free reign in regards to the type of distortion.
For example, one of the most fun effects to create is a ‘crumble’ — this type of distortion audibly chops up any audio fed in into a similar texture to granular synthesis, and you can create this with certain distortion modules by pushing them way further than you normally would. Of course, your drums will become almost unrecognizable, but sometimes that’s the goal!
You can get to a heavy industrial sound quickly by throwing a long reverb on your drums before the distortion; the washy, smeared quality of reverb reveals the full character of the distortion in a way nothing else can fully achieve (you’ll probably need to shorten the reverb after you hear what happens). The best sounds will typically come from rolling off the top end — we’ve mentioned that already, but it’s especially true with reverb because distortion adds back in harmonics, so having a strong high end will often mangle the audio out of control. Shape the high end a bit and then allow the distortion to work its magic.
Lofi and retro styles
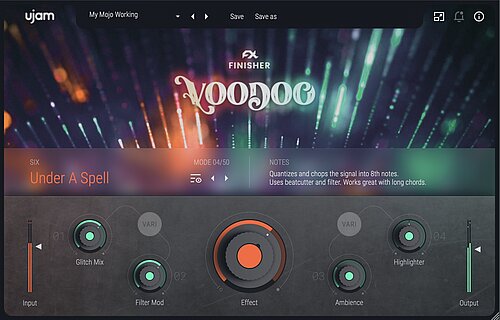
For these styles, vinyl and tape saturation will become your best friends — the overall character you want is a warm, pleasantly muffled distortion with the top end rolled off (if you don’t get enough of this from the distortion module itself, you can use a high shelf or mild lowpass filter to help out a bit). This typically involves a chain of multiple effects together to achieve the overall result, which can take a bit of fine tuning; if you want to cut down the time spent on this process, give Finisher RETRO a try and pull up the Four-Track Recorder or Vinyl History modes — combined with the right drum, bass and synth groove, you’ll have a professional-quality lofi track in no time!
This segues nicely in 80s synthpop-inspired genres like synthwave; the filtering and saturation typically aren’t as extreme, but you’ll find a distinctive lack of high frequencies when compared with modern EDM. You can even get creative with an effect like RC-20 Retro Color, which is a great tool for introducing vintage imperfections like magnetic tape volume dips and subtle pitch fluctuations (you can get even more creative when using it in tandem with Finisher RETRO!). The main point to keep in mind is that older music generally had less high end, and pop in particular had quite subtle distortion that’s easy to overdo.
Distorting kick and snare samples
As a general note, you need to approach kick distortion with particular caution — low frequencies tend to distort more audibly than higher ones, so you likely need less drive than you think. One quick way to get around this is to use a multiband distortion like Predatohm, then cap the low band roughly around 150Hz, leave it clean, and only distort what’s above. If you enjoy getting creative / technical, you can also create a frequency crossover with a multiband compressor and route different bands into specific distortions for greater control. That said, onto specific tactics!
Here are a few general genre-specific guidelines:
- Dubstep: big, meaty, short and non-tonal kicks with plenty of high-end; distort very little if at all to avoid muddying the transients and adding in tonal qualities
- Trap: saturate heavily — trap kicks are often tonal, so add a lot of ‘soft’ distortion and then shape it afterward with volume automation and/or compression
- Industrial: distort heavily; add tons of drive, and experiment with many different distortion modules (such as in Ohmicide) since distortion will have the most noticeable effect on the tone of the kick
Distorting snare samples also has a huge impact on their overall sound. Typically, an electronic snare is assembled from 3 distinct components: a short, punchy transient; the meaty body; and a white noise tail with some reverb, adjusted to taste. Saturating all of these elements together glues everything into one; without saturation, your snare sample will sound unfocused, weak and incomplete — but overdo it, and it will sound like mush! The key is finding a balance.
Push the saturation until you hear the pitch of the body emerge clearly; if it’s too prominent for your taste, back off the drive a little or shorten the tonal ‘body’ of the snare. The white noise will also flare out, and the transient will lose some impact — this is completely fine, since you can get some of that ‘click’ back with compression (this ‘distort then compress’ order is infinitely useful for drum design).
Wrapping up
Drum distortion behaves differently in every genre, but with this info you can approach any situation with more confidence. Apply ideas that work well in other genres, taking note of which combinations sound fresh and unique vs. terrible (which will be the case most of the time for a while, and is totally normal for all producers!
Distortion sort of falls under the category of ‘creative’ effects, rather than ‘utility.’ For example, if you need to get rid of some low mids, nearly any EQ will do the job, but the result will be a little different depending on the style of EQ and the manufacturer. Not so with distortion — a different type of module can have a drastically different sound that you notice immediately. This is one case in which it’s helpful to have tons of different options available to you, adding to your arsenal as you can.
Don’t be afraid to go crazy; pushing drums hard into a distortion plugin is how you build a mental profile of it, and you want to know how it acts ‘under pressure.’ Just remember that this is easy to overuse, and if you’re working with multiple drum tracks on separate channels, try using different distortions on each. Using the same distortion in too many places can make a mix sound ‘cheap.’ Experiment, drive it hard, back it off, and ultimately use all the distortion you need ... but no more. Happy producing!

Stay up to date
Sign up and we’ll send you an e-mail with product news and helpful stuff every now and then. You may unsubscribe at any time.
Defy Limits
We develop software solutions that enable people to create, consume and interact with music.