Guide to Learning any Software Synth Quickly
Open up Usynth or any other synthesizer and understand how it works in just a few minutes of tweaking, no matter how complicated the interface
DECEMBER 12TH, 2021
Read this article if you want some essential information that will help you understand the basics of any Software Synth:
- Routing first!
- Oscillators — the first building block
- Filter section
- Effects section
- Modulation sources
- Wrapping up
Most software synths have the same basic components; the differences lie within the unique sound quality, processing and modulation opportunities between different plugins. If you understand the basics, you’ll be able to quickly understand most of what you need to create the sounds you want — so you can spend more time playing with the fun nuances that you actually bought the synth for!
Routing first!
The exact order of operations between synthesizers varies a bit, but generally, it starts with the oscillator (what produces the raw sound), enters an amplitude or volume envelope, goes through an optional filter bank, passes through any available effects, then leaves the plugin as audio. Some synths, such as Massive, allow you to make some modifications to the routing, giving you more freedom than this standard flow alone.
If you’re new to synthesizer routing, this process may be difficult to conceptualize for some time — this is totally normal! Once you take the time to properly understand the implications this has for sound design and synthesis overall, you’ll be amazed at how much more you ‘hear’ when passively listening to electronic music. Many producers never take the time to master the fundamentals of routing, which is a huge missed opportunity for anyone who wants to create music in the long haul.
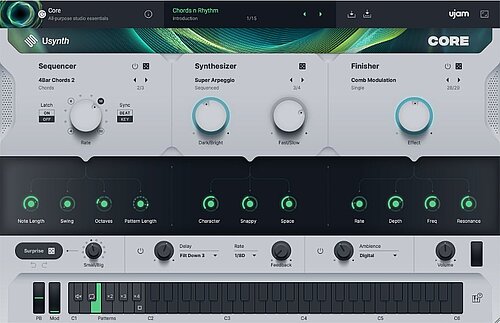
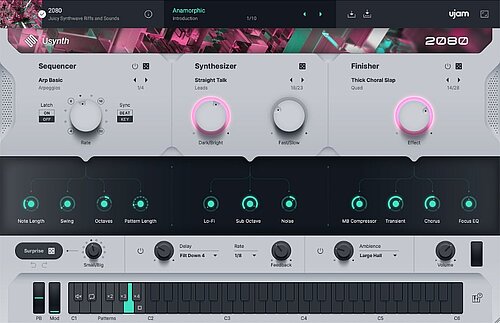
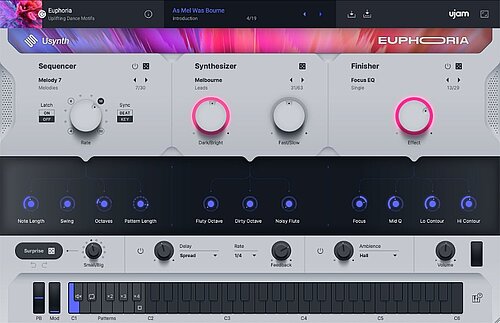
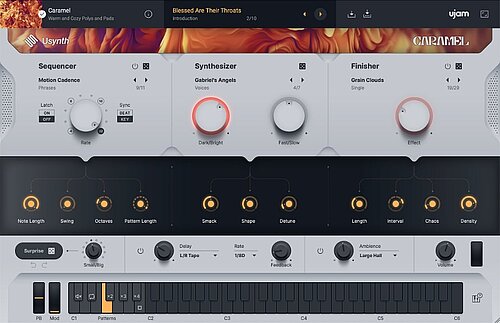
If you don’t want to be bothered with routing, check out Usynth, synthesizers done the UJAM way.
There’s a massive difference between putting distortion before a filter versus after, EQing before reverb versus after, etc. — and the more you practice changing the order around, the more ideas you’ll naturally generate from the very moment you open up any synth. A great way to understand the routing capabilities of a synth is reverse-engineering some of its presets you enjoy and messing with them. The next time you do it, try not only changing various effects and their settings, but also switching their order wherever possible!
Oscillators — the first building block
This is where you’ll see the greatest variety amongst different types of synths. Perhaps the most common type right now is the wavetable synth, which stores and plays back short snippets of waveforms. Typically, you have hundreds of individual waveforms placed in each table, which you can cycle through smoothly. You can often manipulate these in different ways, including bending, remapping, and more (these should sound familiar if you use Massive or Serum). This is a flexible model that also has a very light CPU load, allowing you to create complex sounds from something very simple. (if you see the term “subtractive,” this often falls under the broader category of wavetable synths)
A common addition to wavetable synths is a sampler, capable of pitch and phase shifting on the fly. This can give digital synths a more organic feel, and it’s typically as simple as triggering the same sample on every note, pitched accordingly. Granular synths take this a step further and allow you to chop up samples into short ‘grains,’ which you can then use to create various different textures, especially with the addition of a long, smooth reverb. Ableton Live’s Granulator II is an excellent example of this.
Additive synths sound similar to wavetable synths at first, but operate under an entirely different principle: they build every sound from the ground up, using individual sine waves to fill the full audio spectrum. They’re often more processing-intensive, but this allows you to use formulas to manipulate the individual ‘partials,’ creating metallic, chorusing and unique digital effects before even leaving the oscillator portion. Two of the best examples are Harmor and Razor.
Another type you may encounter but which can be extremely difficult to use effectively is physical modeling — this simulates the physics under which acoustic instruments operate, and is broken down into a few main parts: the exciter (a short impact or sustained white noise-like sound), the resonator (a short delay with high feedback, creating a metallic ringing that sustains longer the higher you set the feedback), and a modal bank, simulating the resonances of a physical housing (wood body of a guitar, plastic quality of a PVC pipe, or any other dimensions the synth is able to recreate). This could take an entire article to explain in full, but you’ll likely get the best results from playing around with different presets (it takes a long time to be able to make these synths sound good from an initialized preset!).
Filter section
You may be familiar with lowpass, highpass and band pass filters for basic ‘subtractive’ shaping, but there are others you can employ for more radical changes. Let’s check out a couple of the most common ones.
Band reject filters suppress a specific part of the frequency spectrum, thinning out the sound considerably — when you sweep with them, you can create a cleaner sound while adding a ton of movement. This is excellent for mechanical sounds, growls, and any number of other sound design opportunities, and has an inherently “electrical” sound to it that works wonders across many genres of EDM.
Allpass filters are a bit trickier to understand — they don’t have any direct effect on the frequency balance, only the phase of the audio coming through, resulting in a smearing effect as the frequencies around the cutoff are progressively delayed in time. It doesn’t seem immediately useful, but its utility is clearer when you stack multiple allpass filters in sequence, such as with Kilohearts’ plugin Disperser. You can think of allpass filters as providing a smoothing, liquefying effect that destabilizes everything you run through it — if you like juicy, squelchy sounds, you’ll want to give this a try!
Some synths have additional variations of filters, all of which sound a bit different, but they generally have a single purpose: chopping out part of the spectrum or modifying the signal coming from the oscillator. Think of the filter bank as a way to make broad changes to the character of a sound before going into the effects section — from there, your effect rack is how you add stuff back in.
Effects section
This is your opportunity to let loose, and it will likely be the most straightforward portion of any synth to grasp. If you want to understand audio effects on a broader level or could simply use a refresher, check out our article, The Ultimate Guide to Audio Effects. However, it’s worth noting that effects in a synth have a slightly different function than those you chain after the plugin in an effects sequence.
Think of a synth’s internal effects as a way to extend the possibilities of the base sound and realize the creative potential of the patch you created while beefing it up a bit. Afterward, you can add in a multieffect like one from UJAM’s Finisher series to shape things a bit further; get as far as you can within the synth itself, then use other plugins to create sounds that aren’t possible with the synth on its own. On top of that, they typically present tons of opportunities for modulating their parameters — which segues into perhaps the biggest goldmine of possibilities...
Modulation sources
Envelopes are single-shot curves that trigger when you play a note and continue until you release it. Some follow the standard Attack - Decay - Sustain - Release model, but at this point, you’ll commonly find that you can create and manipulate as many points in sequence as you choose, allowing you to design whatever patterns you want and assign them to nearly anything you choose. LFOs (low frequency oscillators) are essentially envelopes that repeat at a set frequency or tempo, and step sequencers are similar but without the option for curved shapes.
All of the components above share a common purpose: alone they create no sound, but they can manipulate any ‘assignable’ parameter on the synth that you choose, whether it’s on the oscillator, filter, effects, etc. This is where the real creative potential of the synth comes to life ... and it’s also an opportunity for a terrible case of analysis paralysis! You need to decide what aspects of the synth patch need movement and which should stand still, balancing chaos with static, boring settings. Once you understand the basic features of your synth, start trying out different modulation possibilities — you might be surprised at the parameters you can manipulate, and many manufacturers focus their efforts on creating new twists on classic modulation options. If there’s one concept you must nail besides routing, it’s modulation.
Wrapping up
Getting a new synth can be as daunting as it is exciting, but under the surface, you’ll find that many of them perform similar functions. There may be differences in the implementation, but you can bet that you’ll start with a couple of oscillators, go through some sort of filter bank and then move into the effects section. When you change the routing order, you can dramatically alter the sound of a patch — and if you don’t understand a synth’s current routing, you’ll likely drive yourself nuts when you change one thing and the entire sound falls apart. Remember: routing first, always! Then once you become a master of modulation, you’ll be able to create dramatic sounds with tons of movement, which is essential for holding your listener’s interest for any length of time.
The ability to confidently open any synth for the first time and get a general understanding of how it works is so powerful; from there, you can spend your time discovering new features and testing out creative possibilities. All of this helps you spend more time having fun and way less time staring at a complicated UI hoping it will start making cool sounds. Get the basics down, have fun, and soon you’ll be able to use any synth as an invaluable sound design tool!
About the Author
Harry Lodes is a copywriter, marketing consultant and content writer for audio and ecommerce brands. He lives in the Philadelphia area, releasing Eastern/Western hybrid EDM under the artist name KAIRI hearkening back to his roots in Berklee College of Music.

Stay up to date
Sign up and we’ll send you an e-mail with product news and helpful stuff every now and then. You may unsubscribe at any time.
Defy Limits
We develop software solutions that enable people to create, consume and interact with music.